
Do you remember perfectly arranged fashion, dreamy florals, and perfectly laid out food arrangements? If you’re on Instagram, you’ve almost certainly seen Flatlay photography. Flatlays have altered the landscape of photography in recent years, and today I will walk you through the process of creating the perfect flatlay for Instagram using your iPhone camera!
So, what exactly is a flatlay?
A flatlay is essentially a photograph taken from above or from a bird’s eye view of items that form a theme. A flatlay’s bird’s eye view gives the viewer the impression that the items are laying flat on the ground. A flatlay is created by removing the depth from a photograph. Flatlays have become the new ‘in’ thing on Instagram, and they are a classic way to showcase your favorite objects and current obsessions in an aesthetically pleasing way!
Flatlays are classified as follows:
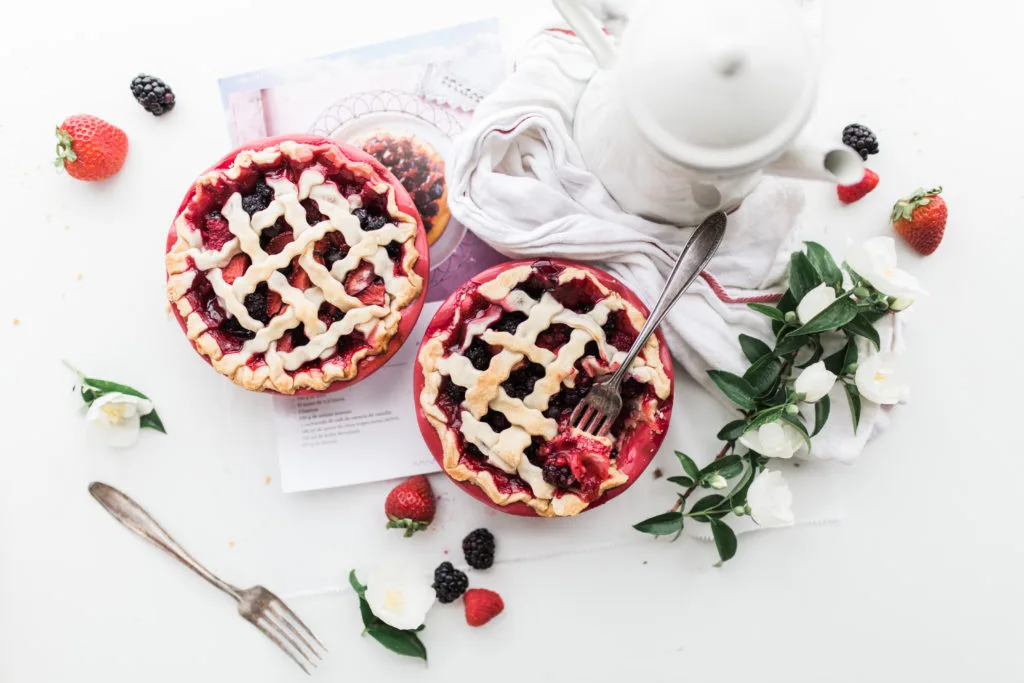
Flatlays are divided into two types: those centered on a mood and those centered on an object. centered on a state of mind: The emphasis here is on the mood of the photo and the story you’re telling with it. The photo below, for example, is centered on the mood of enjoying a delicious treat rather than a specific subject.
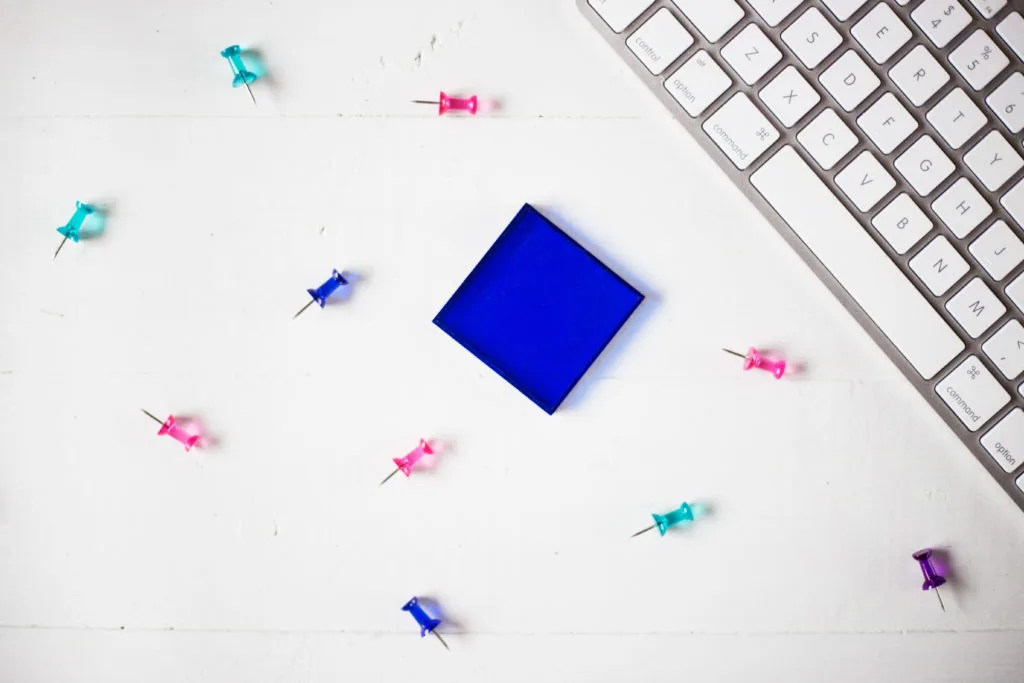
centered around an object: In this case, the emphasis is on a central object that you want to draw attention to! In the photo below, for example, the main subject is the book, and the entire image is styled around it.
5 Techniques for Mastering Instagram Flatlays:
Personally, flatlays are my favorite type of Instagram photo. Taking the perfect flatlay photo isn’t difficult, but it can be tricky. Over the last two years, I’ve experimented with a variety of flatlays, and here are some tips I’ve learned along the way.
1.What is the plot of the story you intend to tell?
Your concept can range from “what’s on my desk” to “my trip to France,” but there must be a solid concept. So, before you take a flat lay, ask yourself what you want to convey through this flatlay. What story are you attempting to tell the viewer of the flatlay? It is much easier to create the flatlay once you have that in mind. Here’s a flatlay of everything I used for makeup on a particular day.
2.Select soft lighting:
One of the most important aspects of creating a successful flatlay is the lighting. Because a flatlay photo is two-dimensional, it is best to avoid using shadows in your photographs. As a result, when shooting flatlays, you should use soft, diffused natural light. When the sun is directly overhead around noon, it casts harsh shadows in your photos, which can be unflattering, particularly in flatlays. So, shoot in the early morning or early evening while the sun is still low in the sky.
3.Select a simple background:
When it comes to flatlay backgrounds, less is more. Choose a plain white background for your flatlays to highlight the contrast between the objects in the flatlay. As a background, you can use a white foam board from a craft store or a white wooden board. You can also use colored backgrounds, but make sure they match the colors of the flatlay items. Using a dark object on a dark background may result in an unflattering flatlay that lacks clarity. You can use textured backgrounds, but avoid patterns and prints on the background as they can be very distracting.
4.Learn to see things from a bird’s eye perspective:
Mastering the bird’s eye view is essential when shooting flatlays. A bird’s eye view is simply a top view, as in taking photos from the top and looking down at your scene, as if you were a bird looking down from the sky. When it comes to using your iPhone, mastering the bird’s eye view is fairly simple. The key is to keep the iPhone straight and parallel (flat) to the scene. Even the slightest tilt can be seen in flatlay photography, so the key is to keep that straight, flat-level with the scene.
5.Switch on the grid:
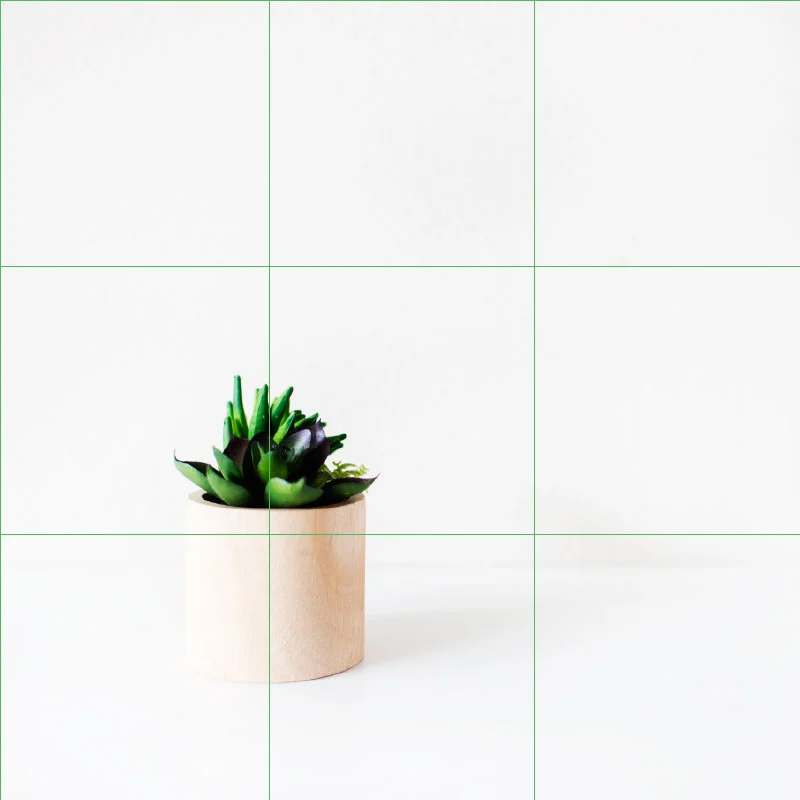
The iPhone camera has an excellent grid feature that assists you in aligning your camera with the scene. As a result, it assists you in avoiding photos that are tilted or crooked. On the iPhone, navigate to Phone Settings >> Photos and Camera >> Grid >> Turn on. When you do this, a grid appears in your native camera app, assisting you in effectively composing your shots.

